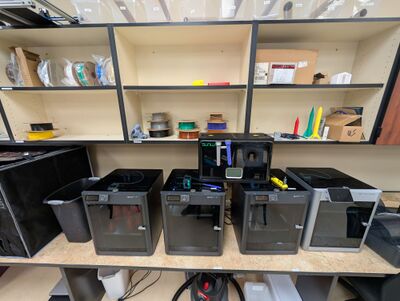
 Some of the P1S printers.
3d Printing Workflow
On your computer

- Create your model using Tinkercad or OnShape.
- We only print models someone else created with Dr. Taylor's permission.
- Export the model using STEP, 3MF, or STL format.
- Upload the model to the red link on the board.
On the Laser Computer
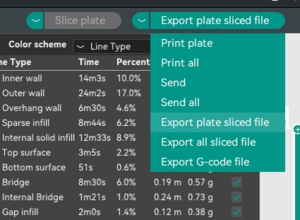
 Drop-down menu
- Download the model from where you stored it at the red link on the board.
- Open the OrcaSlicer Application.
- Create a New Project.
- Drag the model file from the Downloads folder.
- Check for appropriate settings on the left. Especially, verify these settings are correct:
- Supports-You need them if there are large overhangs.
- Brim-A brim can help prints stay on the bed.
- Infill-Use enough for the strength you need. That will likely never be more than 15%.
- Printer type-Make sure it says P1S.
- Filament type-You are most likely going to be using PETG.
- Slice the file (Top right)
- Export the sliced file to an SD card.
On the Printer
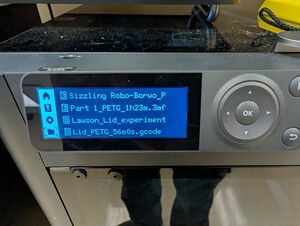
 The file menu.
- Verify:
- The printer has a clean build plate installed correctly.
- The correct filament is on the back.
- Swap SD cards, putting the old one back in the yellow tray.
- Go to the folder icon on the left.
- Select your file, and hit print!


